A Modeler and Artist With Many Interests
Introduction
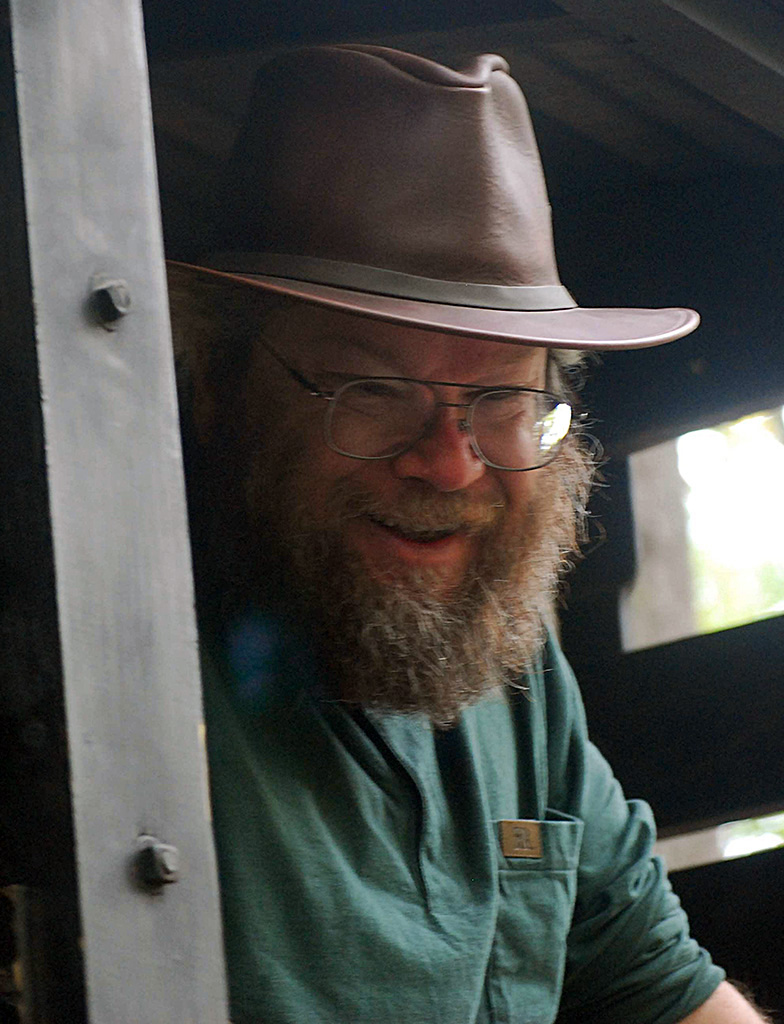
When Chris Rueby submitted photos of his work to the Miniature Engineering Craftsmanship Museum, we immediately saw that he was an exceptional craftsman in many areas. His work ranges from ship models and full-size boats to clocks and steam engines. He indulges his artistic side by building furniture and display cases, or carving birds and animals out of wood and stone. He is also interested in nature photography, and often uses his photos for study when making his carvings.
Mr. Rueby was born and raised in Rochester, NY, the youngest in a family of five. He attended Rochester Institute of Technology and earned a Bachelor of Technology degree in computer systems software, graduating in 1983. Rochester was the home of the Kodak Corporation, and Chris started working there as a software/firmware engineer in 1982. This led to a 30-year career, before he retired in 2012 at the age of 51 as a research scientist. Chris holds 12 patents for his work.
Though Chris was interested in radio control models from an early age, his career in art and modeling really took off after he retired. At that point, Chris finally had the time to learn new skills and get involved in new projects. Below you will find Chris’ story, in his own words, along with a number of photos showing the variety and quality of his work in both miniature and full-size.
Chris Rueby Tells His Story
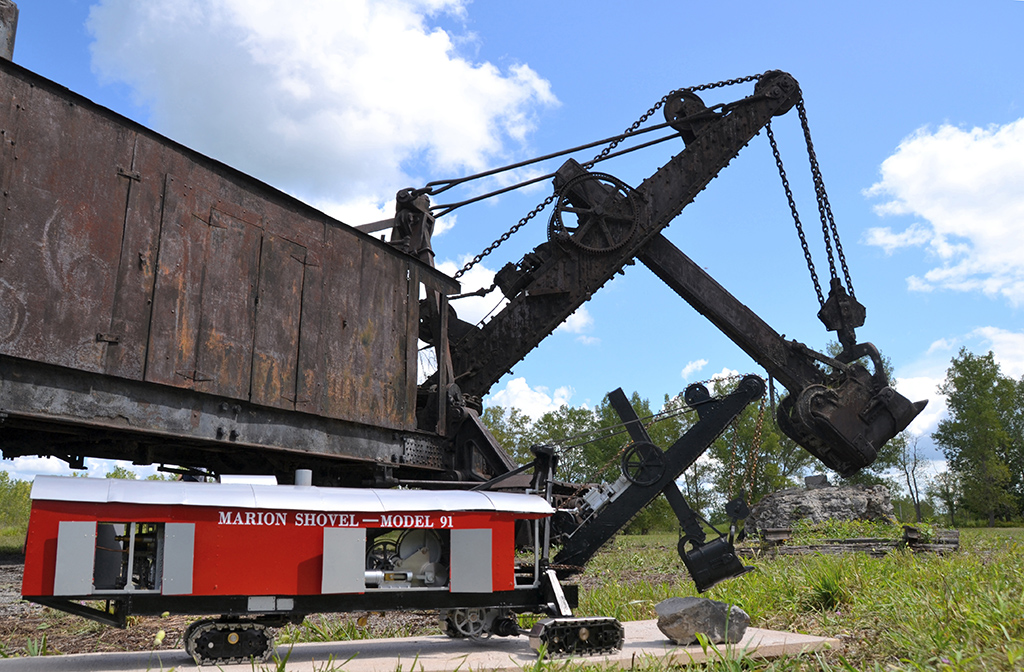
After completing my most recent project—a live steam 1:16 scale model of the Marion Model 91 steam shovel that is outside a quarry in LeRoy, NY—a number of people asked how I learned to build models like that. Well, it’s been a long and twisty road that hopefully keeps going for a few more miles!
Like a lot of kids, I enjoyed building model kits of cars, planes, etc. After visits to some great museums—like Mystic Seaport in Connecticut, and the Mariners Museum in Virginia—the focus turned to ships, and the next few kits were small wooden ships. Then, I was given a set of ship model books by Harold Underhill, and things really began to change.
Underhill really focuses on attention to detail in his models, and shows a lot of techniques for making complex detailed parts with simple hand tools. These lessons have stuck with me ever since.
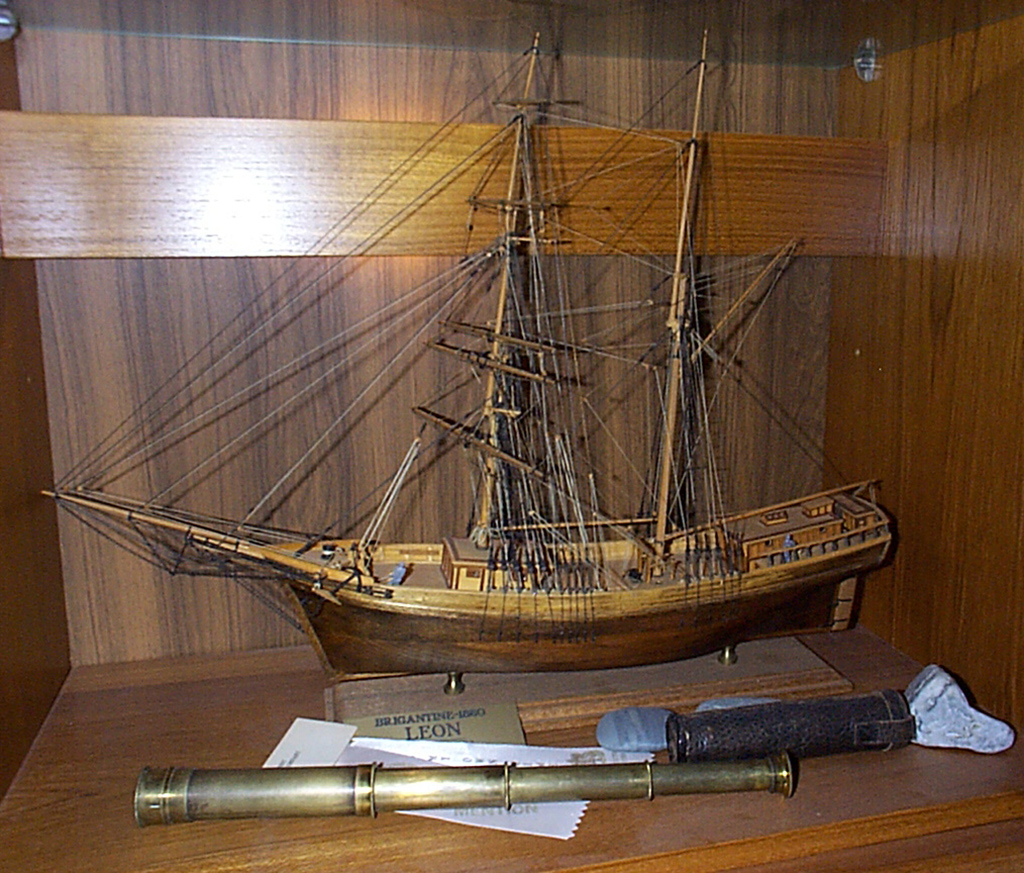
The next model was the brigantine Leon from his books, with a carved pine hull and quite a bit of detail in the rigging. Underhill showed ways of flattening and shaping copper wire into metal fittings for the rigging, which did not require buying pre-cast parts, and used simple tools. This was the start of my “toolbox” of techniques learned over the years.
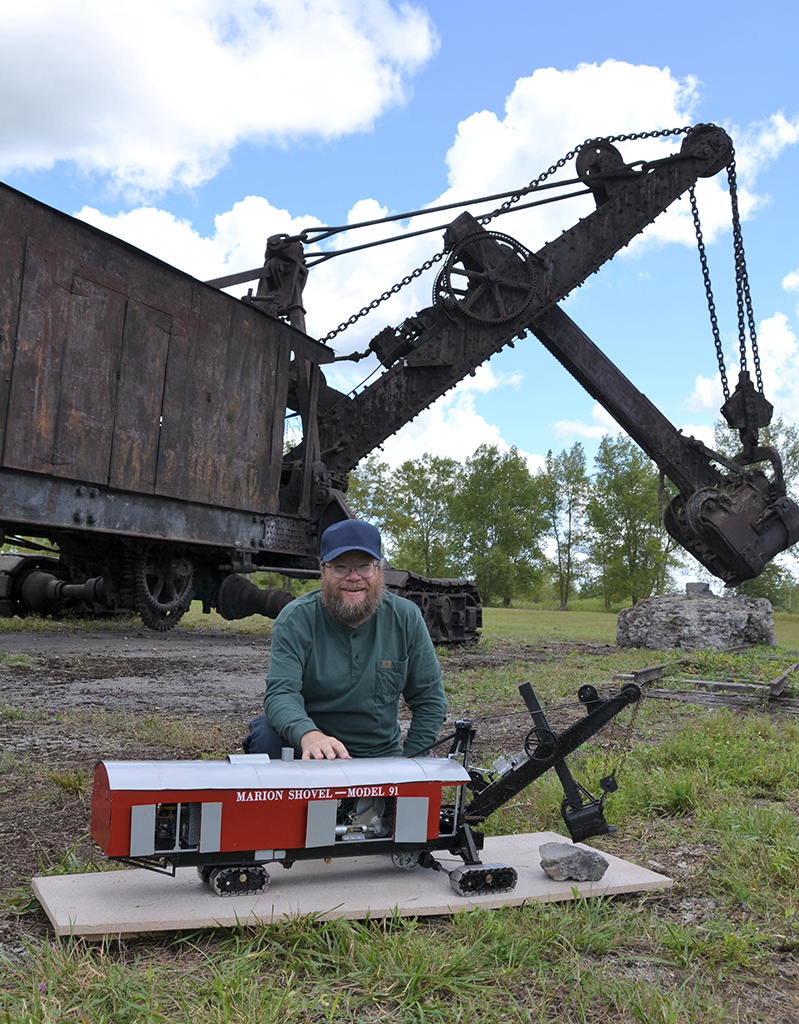
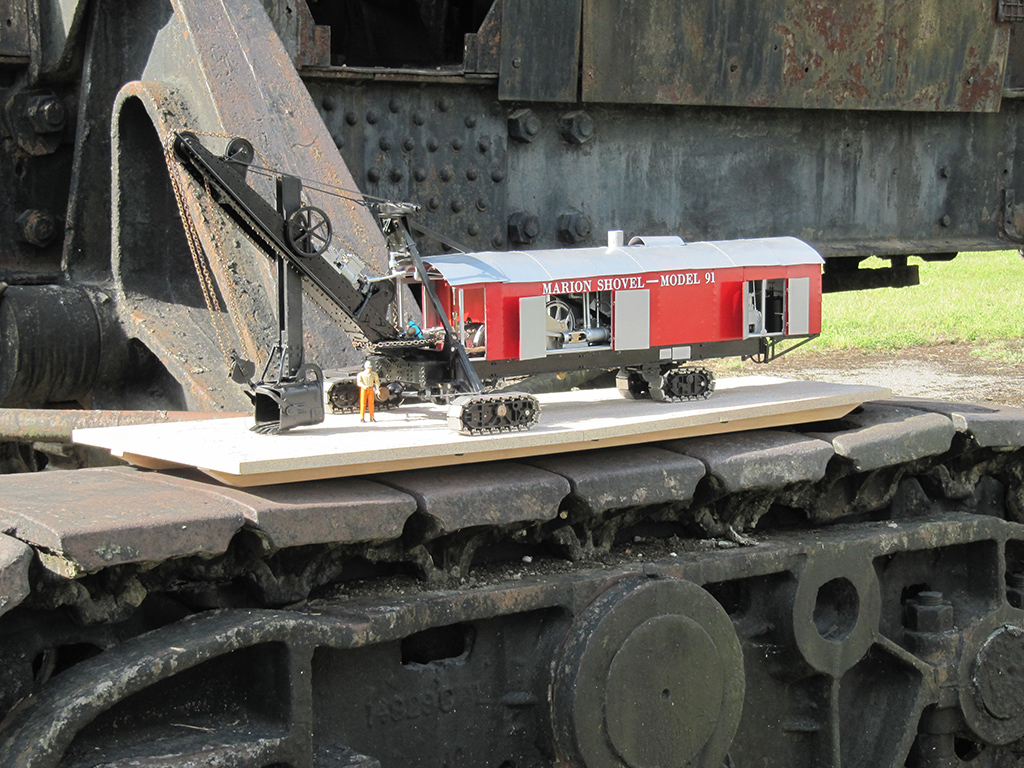
Chris’ 1:16 scale Marion Model 91 steam shovel. The full-size steam shovel in the background gives a sense of scale.
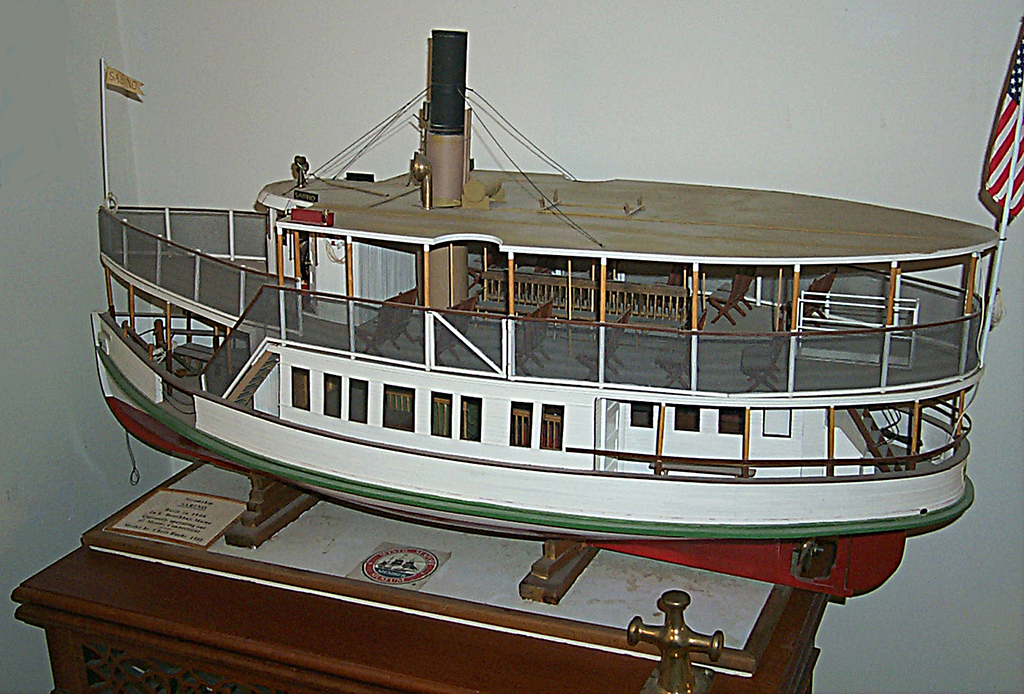
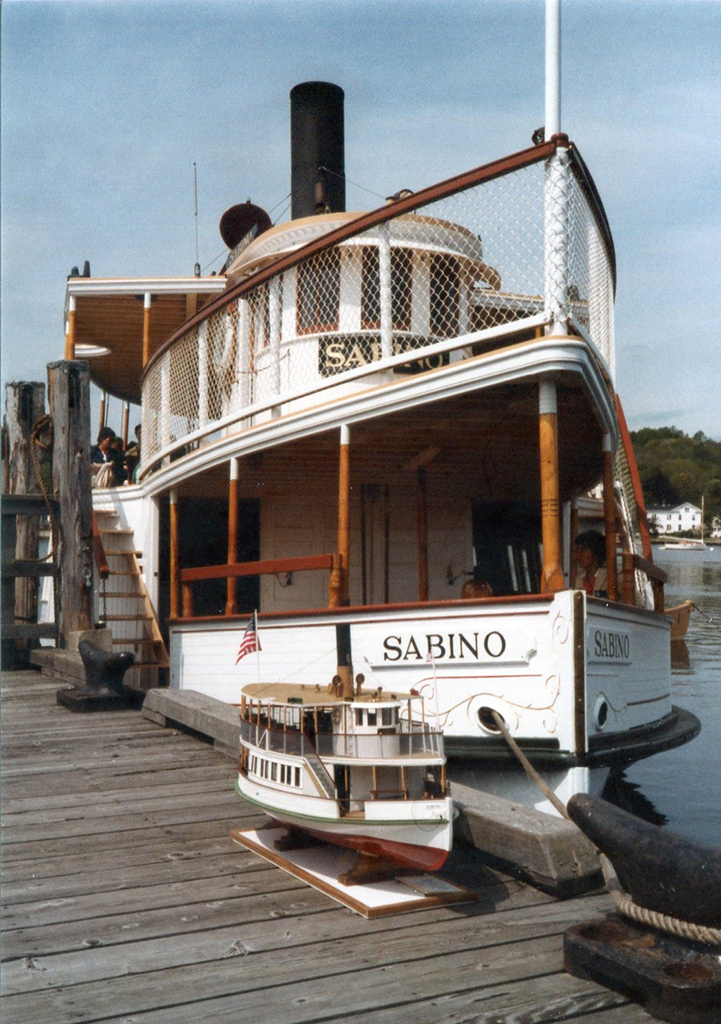
My interest in ship models continues to this day, both in static display and radio-controlled operating models. Later models included clipper ships and fishing hulls. Then, Mystic Seaport started selling plans for their steam passenger ferry Sabino, which I had ridden on many times. It was just a natural pick for what to build next.
The Sabino model was radio-controlled, and I got the opportunity to have the Sabino captain run the model in the water in front of the real ship. On the next cruise out that day, with the model sitting down in the engine room, the captain called me up to the pilothouse and taught me to pilot the real ship up and down the river! Quite an inspiration for a young modeler.
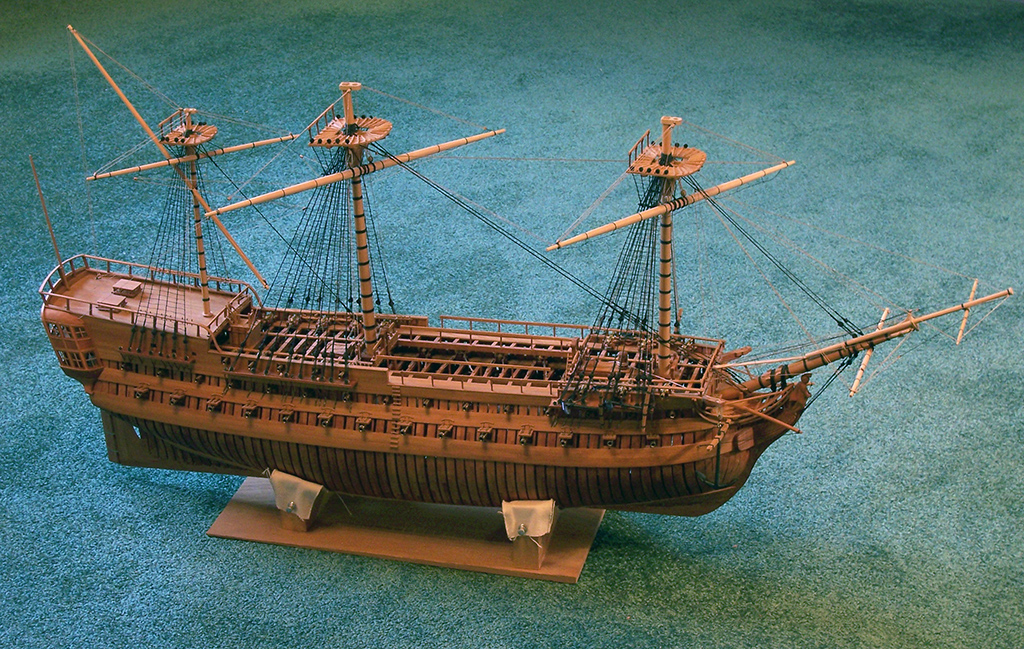
It was during the build of the Sabino model that I got my first lathe, a small Unimat tabletop unit that came in very handy for making small wood and metal parts. However, it got the most use early on when set up as a miniature table saw. A later model came about when I stumbled across a four volume set of books in a used book store, all in French, published by the National Maritime Museum in France. These books focused on the design and construction of a Napoleonic era 74-gun naval ship. There was very little text, but almost every page had a large fold-out plan for every part of the ship. With hundreds of sheets of very detailed plans, it was just begging to become a model. That was the first time that I attempted a fully framed/planked model, built like the real one from the keel up.
In order to show the framing, it was done in the style of the old Admiralty models, where they left off most of the outer planking to show the way that the hulls were constructed. This project spanned about 10 years, though there were many gaps in its construction, while other projects and hobbies took the front burner temporarily.
An offshoot of the ship model hobby happened after I moved into a house, and had much more workshop space. The scale models turned into 1:1 full-size boats, inspired by the builders at Mystic Seaport, where they have a shop dedicated to building small traditional style boats. This was a shop that I had spent a lot of time in when I was younger, seeing how the planking was done.
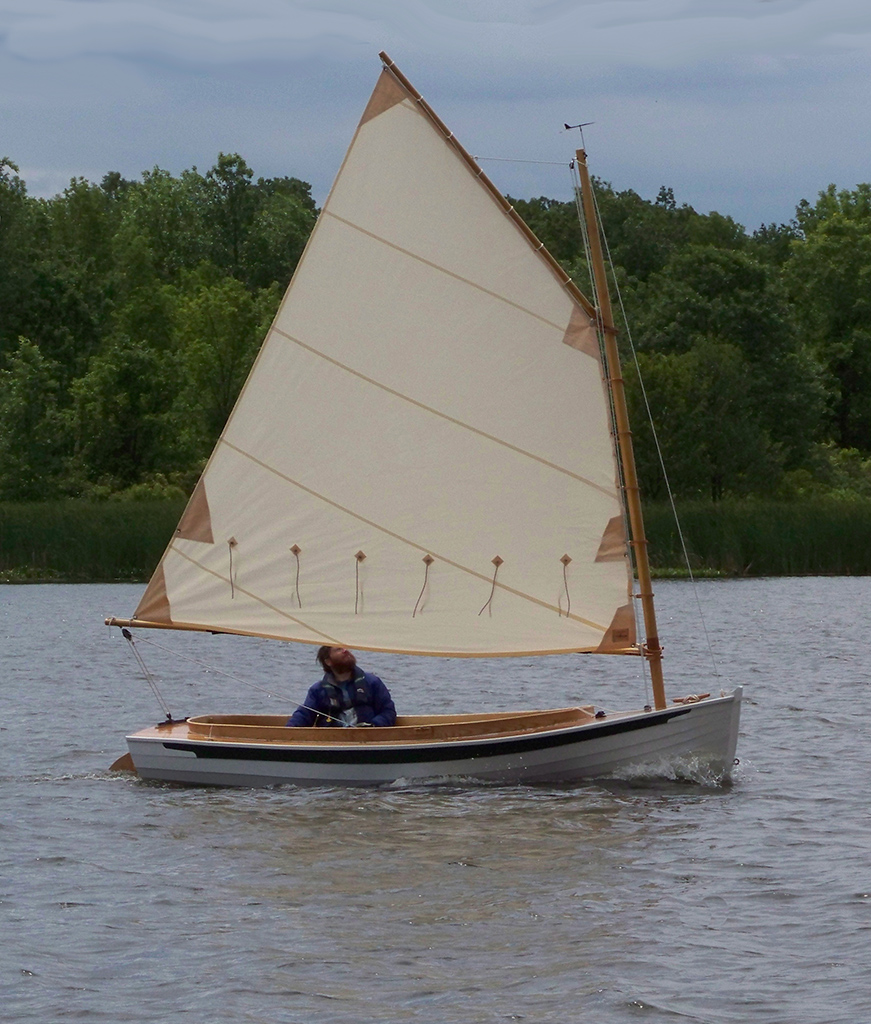
I also learned from books by the masters of the craft, like Pete Culler and John Gardner. Over the years, I have built a dozen traditional lapstrake boats, ranging from small sailing canoes to an 18′ Concordia sailboat—plus modern style cedar-strip kayaks. The methods used on the full-size boats extended those from the models, and the full-size techniques could also be applied at a smaller scale for later models.
Other models made along the way include a small fleet of working submarines (one being a great white shark with articulated tail and fins), and a small rowboat propelled by its oars.
From Ship Building to Wood Carving
Another offshoot of the ship model hobby was wood carving. What started as part of the ship modeling—carving the hulls and other fittings—soon branched out into carving animals, carousel horses, and gargoyles.
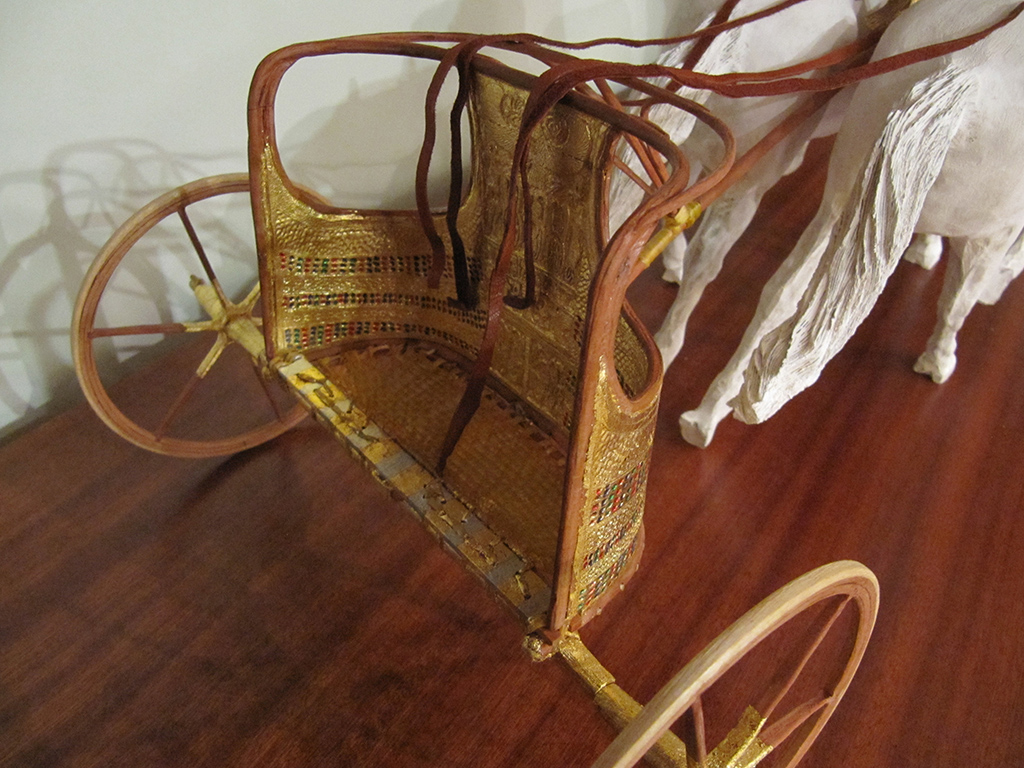
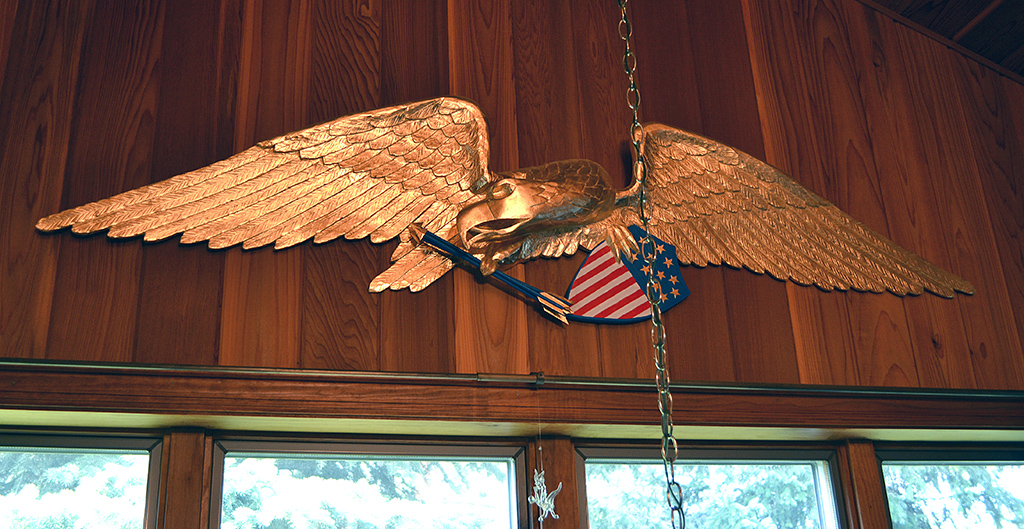
The influence of ship modeling still held on in some projects, like a stern eagle inspired by work that I had seen at Mystic Seaport. The eagle was carved in pine and then gold leafed. The gold leaf lessons from the stern eagle carried over into other projects, like a small model of one of the chariots found in King Tut’s tomb.
I saw a PBS special on recreating the chariot as a full-size working version, which they used to learn how the chariots functioned and developed. I was able to get hold of the expert from the show who did the construction. They kindly pointed me to some books with measured drawings from the original artifacts of the tomb. As with many projects, it started out as a fascination with a machine or tool, and a desire to know how it works. What better way to learn how something functions than to build one?
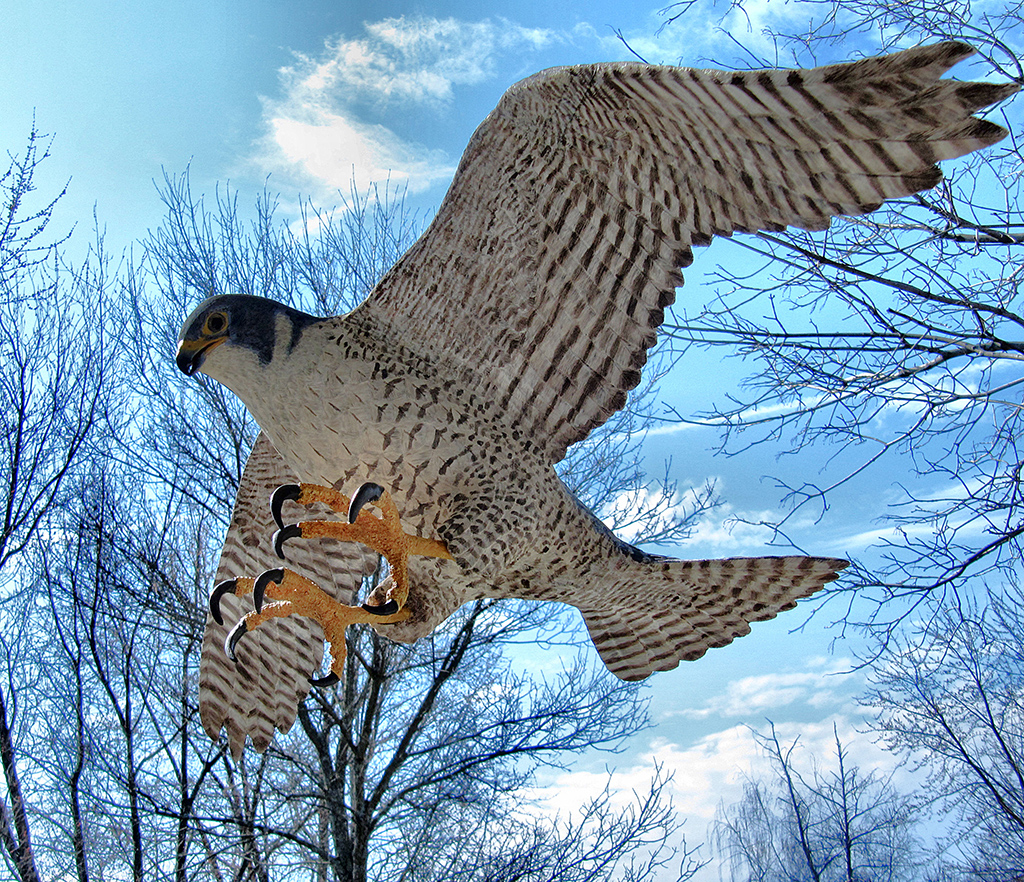
Early on, all of the carving was with hand chisels and spokeshaves. But then I obtained some books and videos by master bird carver, Floyd Scholz. He teaches using rotary tools and wood burning tools to shape and detail his carvings. The first bird that I did was a life-size peregrine falcon, carved in Tupelo, with all of the feather detail incised with a wood burning tool. Scholz teaches a painting technique involving thin washes of color to build up the shading, which gives wonderful results.
The falcon carving is pictured below, hanging off the porch roof with monofilament to let it “fly.” Scholz also teaches how to make the eyes by back-painting on plexiglass, then shaping and polishing the front surface. Just one more example of a technique to add to the toolbox.
A life-size carved wooden peregrine falcon. The carving is held in the air by monofilament to give the illusion of flight.
Carving in Stone
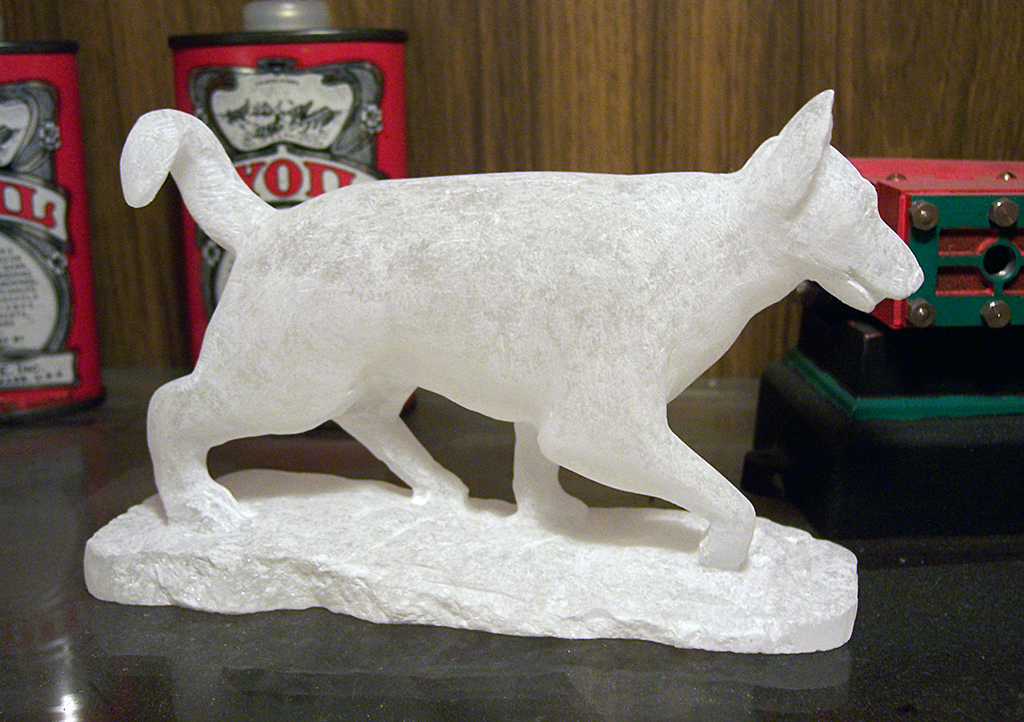
In the next twist in the road, the wood carving branched into carving in stone. It began with some small pieces done in Alabaster, a soft milky stone that can be cut with rotary tools and files. (An alabaster dog carving is pictured below.) The next logical progression from there was carving with hammer and chisel, which was done on the next carving.
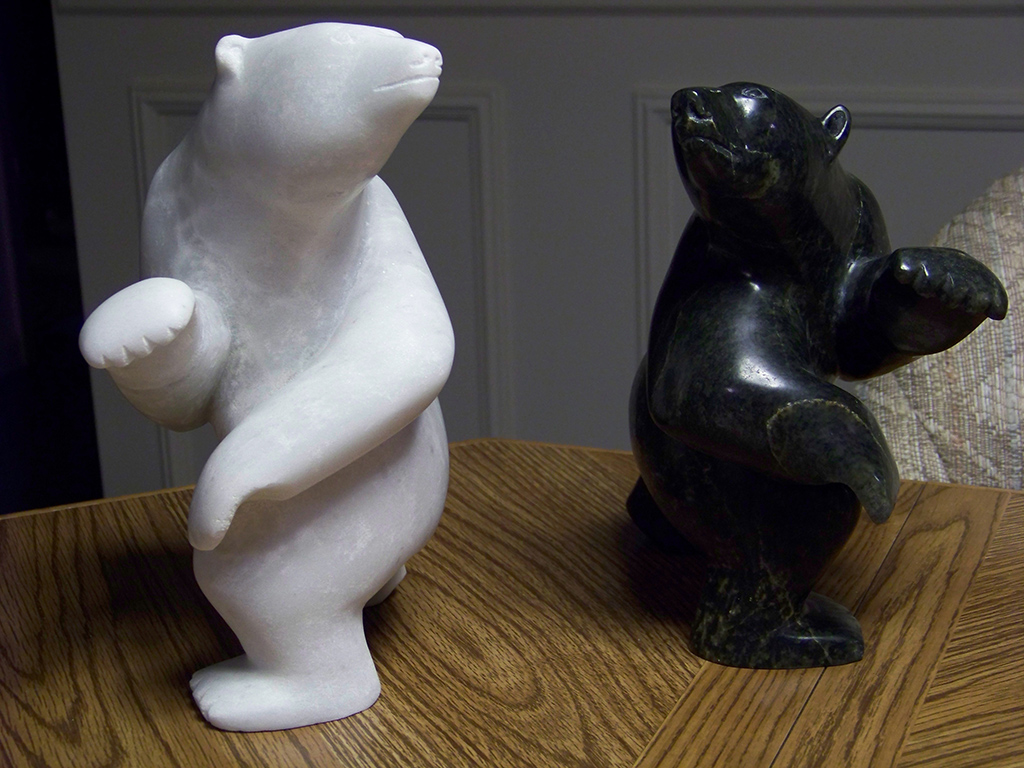
I had bought an Inuit carving of a dancing bear made of green serpentine stone while on vacation, and it was just crying out for a dance partner. So, I started with a block of white marble and began shaping a mirror image of the green bear. It was quite a ways from the starting point of ship models, but many of the same techniques applied.
A Foray Into Furniture
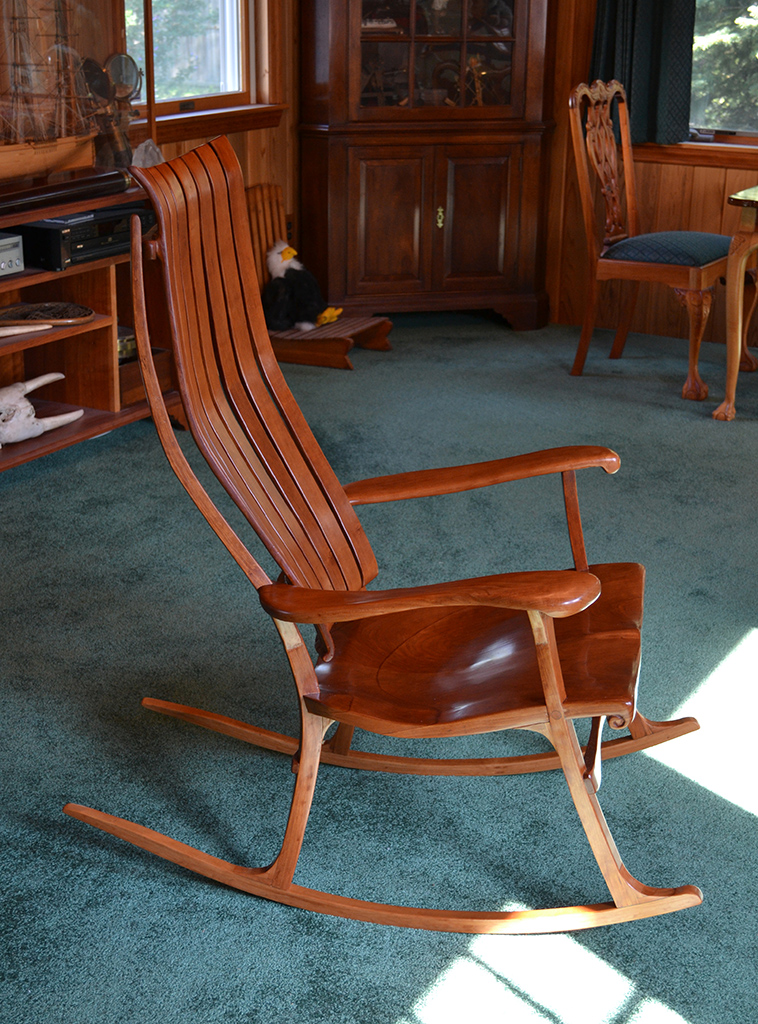
The wood carving had also led into furniture making, partly to make display cabinets for all of the models! One project of note was my take on the wonderful rocking chairs by Sam Maloof. Not being able to afford one of his chairs, I decided to try my hand at the same style.
The project began with what I called a test fixture—a simple framework bolted together from 1 x 3 boards to mimic the shape. This framework had rows of holes to allow the bolts holding it together to be moved in small increments, until a comfortable shape had been found. It is surprising how a small change in height or angle can change the feel of a chair. Once the shape had been arrived at, a set of patterns was made, and the real chair was cut/carved from thick chunks of cherry.
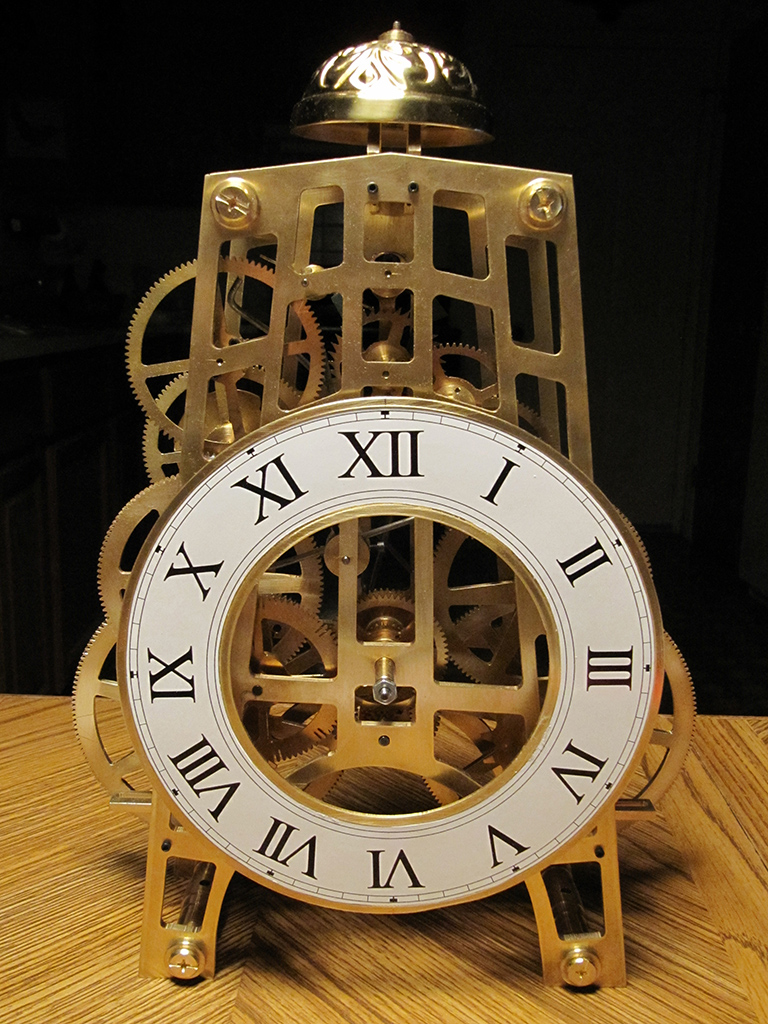
Around that same time, I got back into the model shop and wanted to learn more about the art of cutting metal. Following books on clock making, I learned quite a bit about cutting simple gears, and a lot more about precision—since clocks are very unforgiving about friction. I built a couple of clocks from existing plans—a wall clock and a mantel clock—before attempting a more complex striking clock. The striking clock used a traditional mechanism, but my own design for the framework.
The clocks taught me more techniques for the mill, including the use of the rotary table for both gears and shaping other parts.
Switching to Steam
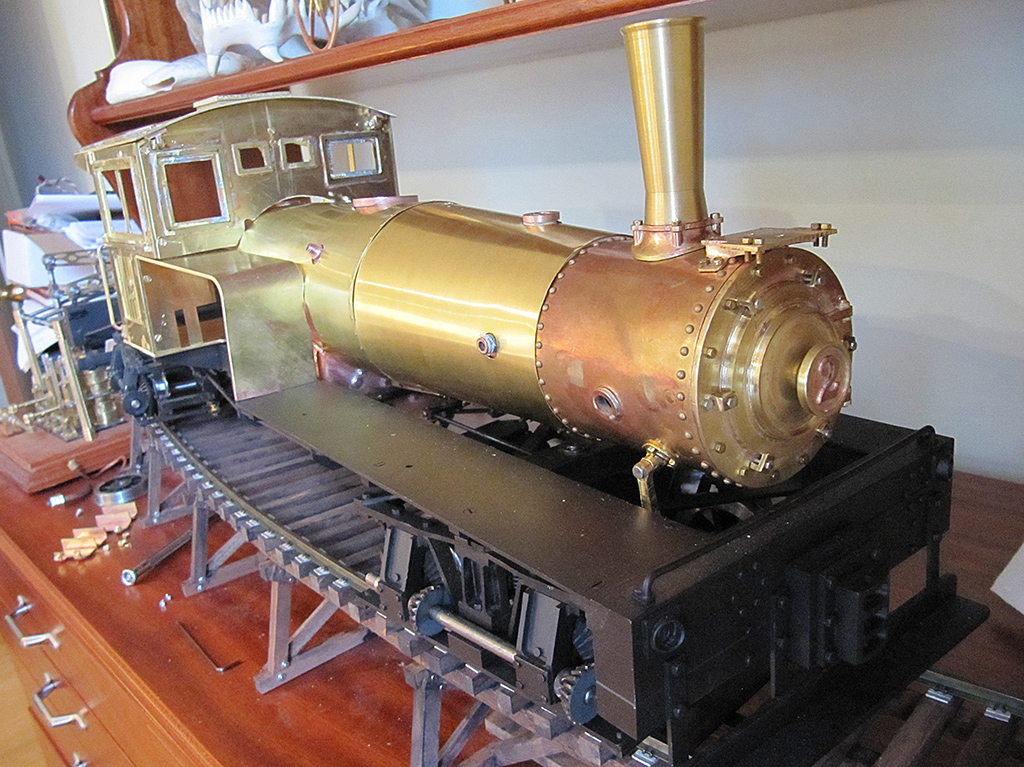
Another old fascination was with steam engines. So, after several steam engine model kits by Stuart Turner and PM Research, I had learned quite a bit—while also learning how much I had no clue about! That was when I dusted off my collection of books about building model steam locomotives, written by Kozo Hiraoka.
I had first gotten the books several years earlier, but until this point I had never felt confident enough to attempt one of the builds. This was a good time to attempt one, having more time to spend in the shop after retiring from a career as a software engineer for Kodak.
Kozo’s books are an amazing teaching tool, leading you through the build while teaching a whole variety of techniques on the lathe and mill. One of the key things that he teaches is the use of fixtures and jigs. It is common to dismiss jigs as a waste of time for making just one or two parts. However, it quickly became apparent that while it may take an hour or two to make a jig, the parts made with it would have taken twice as long to make less well. Before this build, I had never done any silver brazing, cut bevel gears, or fabricated complex shapes from bar stock. It was quite an experience, and it opened up another world of possibilities for choosing models to build.
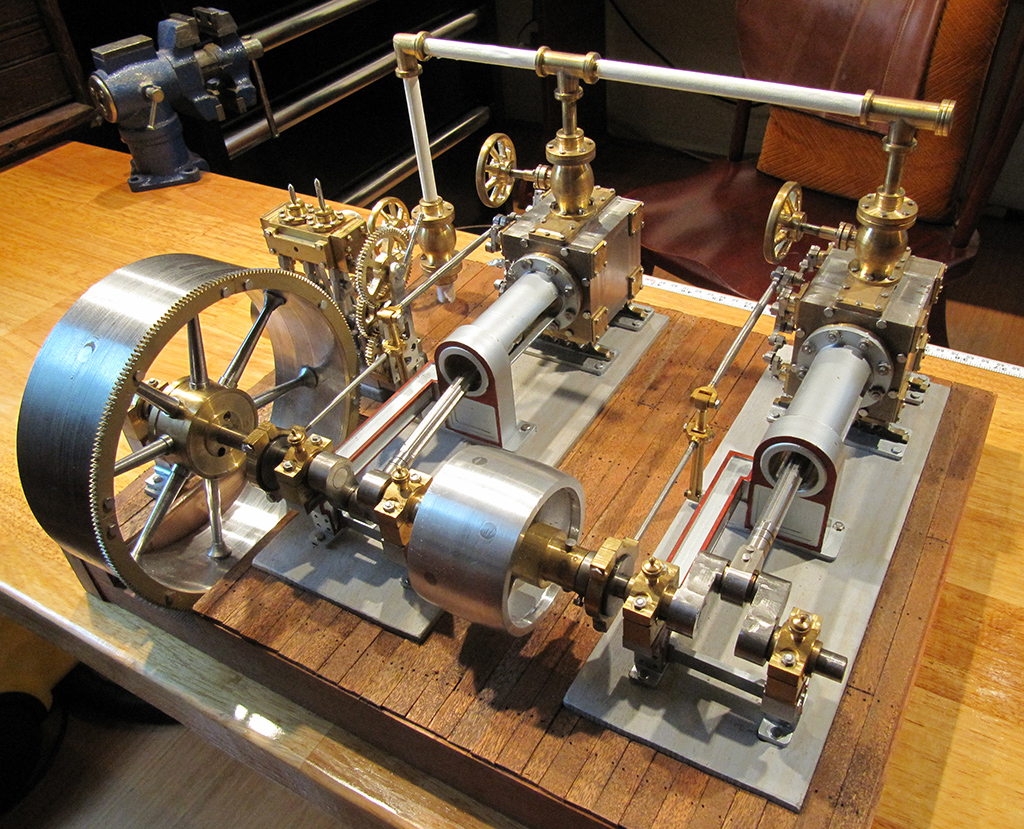
Wanting to further practice the skills learned from Kozo, the next project was a twin cylinder adaptation of the Model Engine Maker (MEM) Corliss engine—adding in a small barring engine as well.
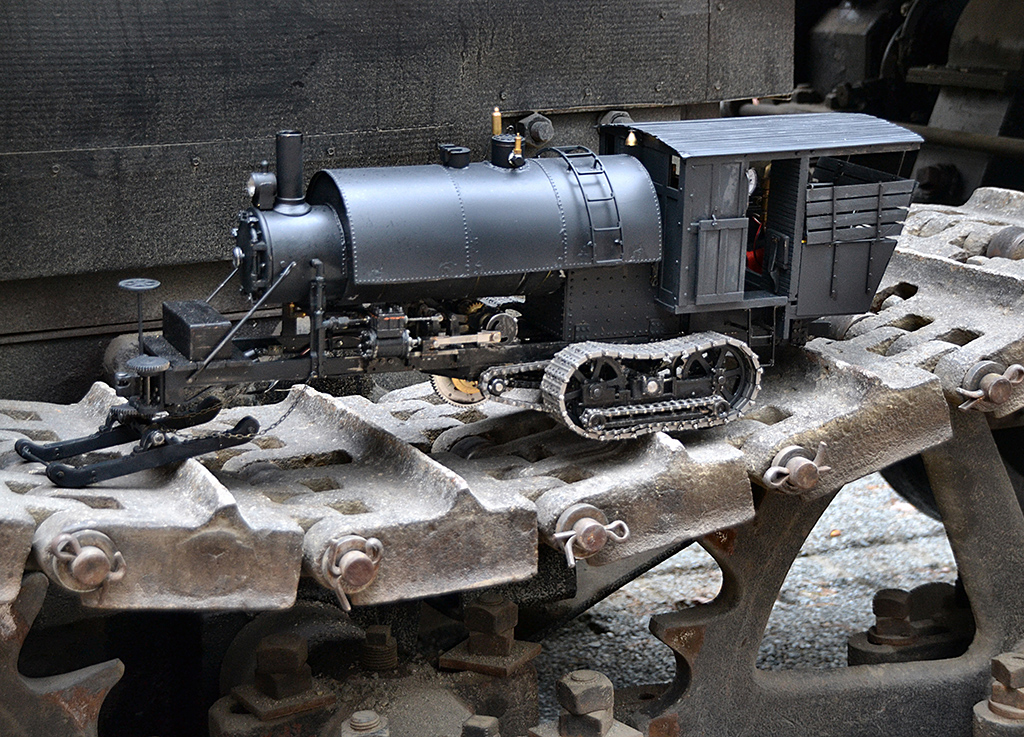
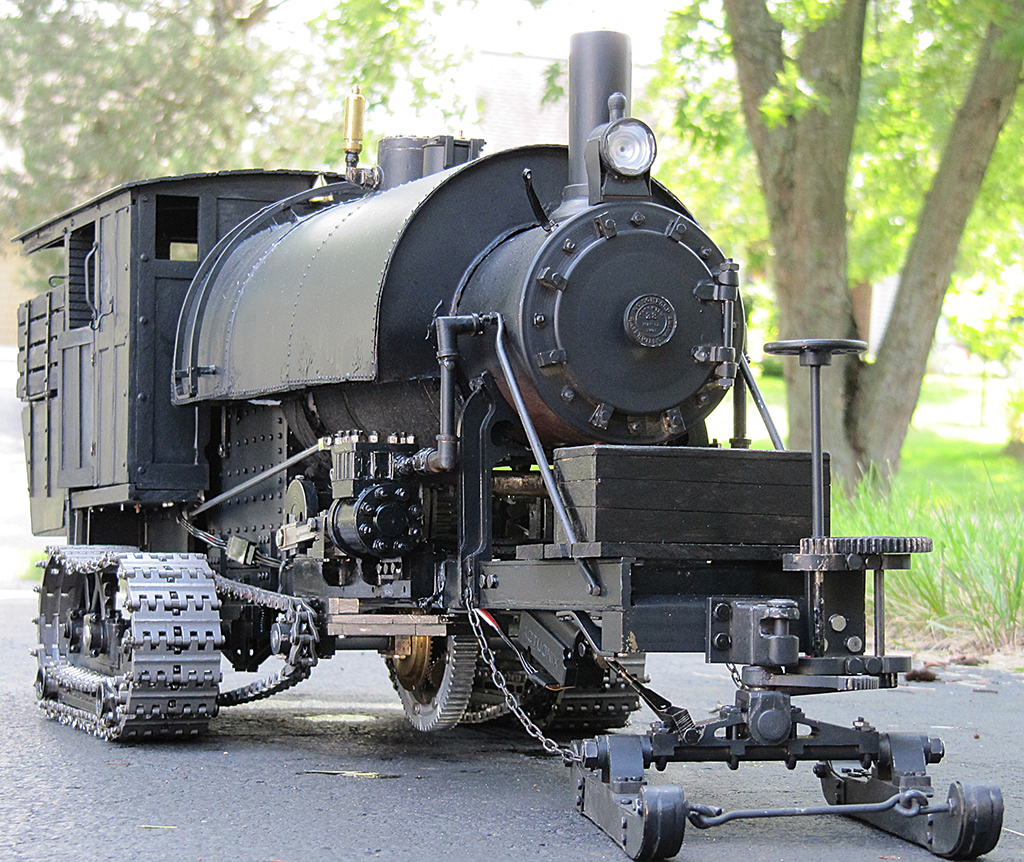
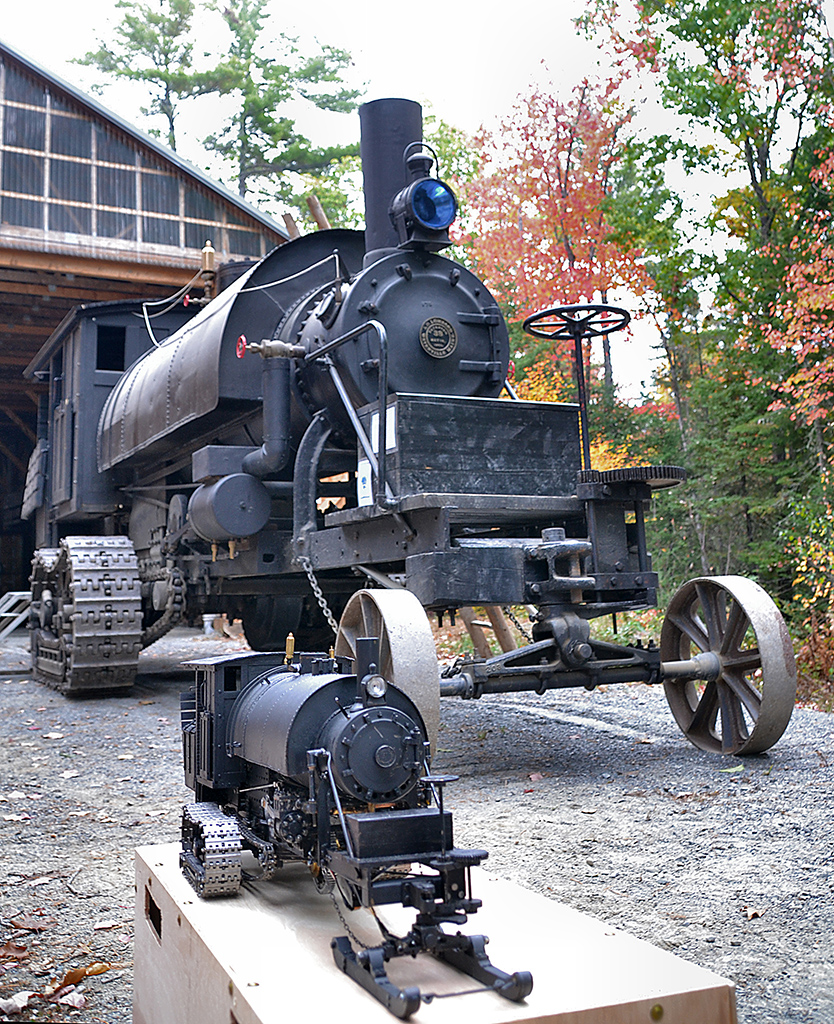
It was at the end of this project that one of the other members on the MEM forum, Ron Ginger, posted some pictures and video of a fantastic machine—the Lombard log hauler. These were the first practical machines made with crawler tracks, and look like a cross between a modern bulldozer and a steam locomotive. They were invented back in 1901 to pull trains of log sleds out of the Maine woods on iced roads. They could log remote areas not accessible by rivers or lakes to bring out the lumber. One look and I was hooked, but there were no plans available for these machines.
In a fortunate bit of timing, the Maine Forest and Logging Museum had recently completed a full restoration of one of the surviving haulers, and they were kind enough to allow me to spend days crawling all over/under the machine—taking photos and measurements. These all went into another new skill that I was learning, the use of 3D CAD software.
The Autodesk company offers a free license to their Fusion 360 product for home hobbyists, so that was the natural choice of which package to learn. Once the machine was modeled up in 3D, a set of measured drawings were produced, and the construction of the model began.
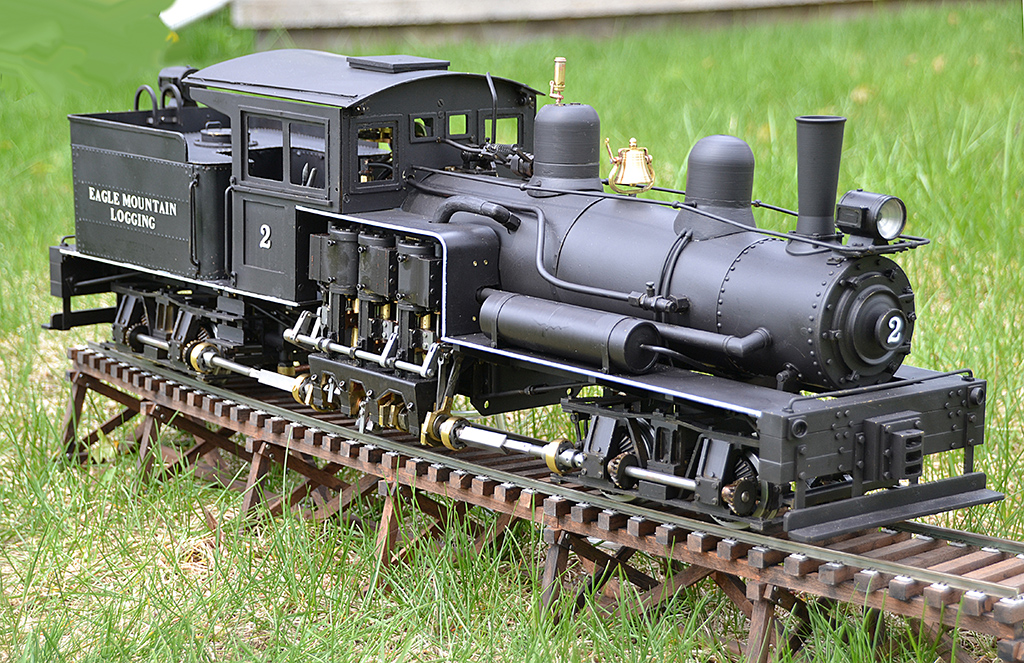
All of the techniques learned from the Shay locomotive build were put to use on this project, along with the woodworking skills for the cab portion. This model was set up for radio control, allowing it to be driven around under steam.
After completion, the model has gone back up to the museum in Maine several times for their summer/fall events, where they run the real machine. A side benefit to these trips was the opportunity to learn how to operate the engines, and steer the real machine! The steersman sits in front of the boiler on the Lombard, which was a very cold place to be in the northern woods of Maine in the middle of winter. After finishing the Lombard, I was looking around for another vehicle or large machine to model when I found out about the perfect thing.
About 20 miles from home sits the last remaining Marion Model 91 steam shovel, outside the quarry where it operated from 1906 to 1949. After it was retired, the quarry company drove it across the road and parked it, where it still sits today. The town acquired the land it sits on, and had it made into a national landmark to protect it.
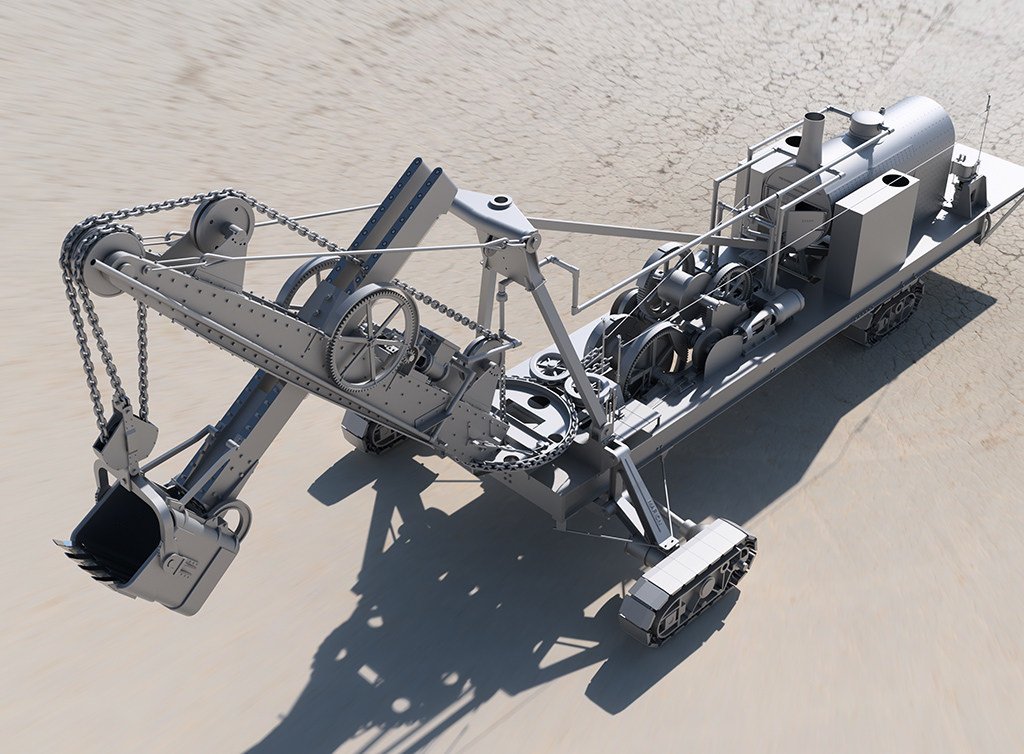
I was again able to arrange access to the machine to measure and photograph it—and to make another 3D CAD model of the machine at full-size. A set of measured drawings at full scale was presented back to the historical society to help document the old shovel. Below is a rendering of the 3D CAD model, with the cab removed to show the inner workings.
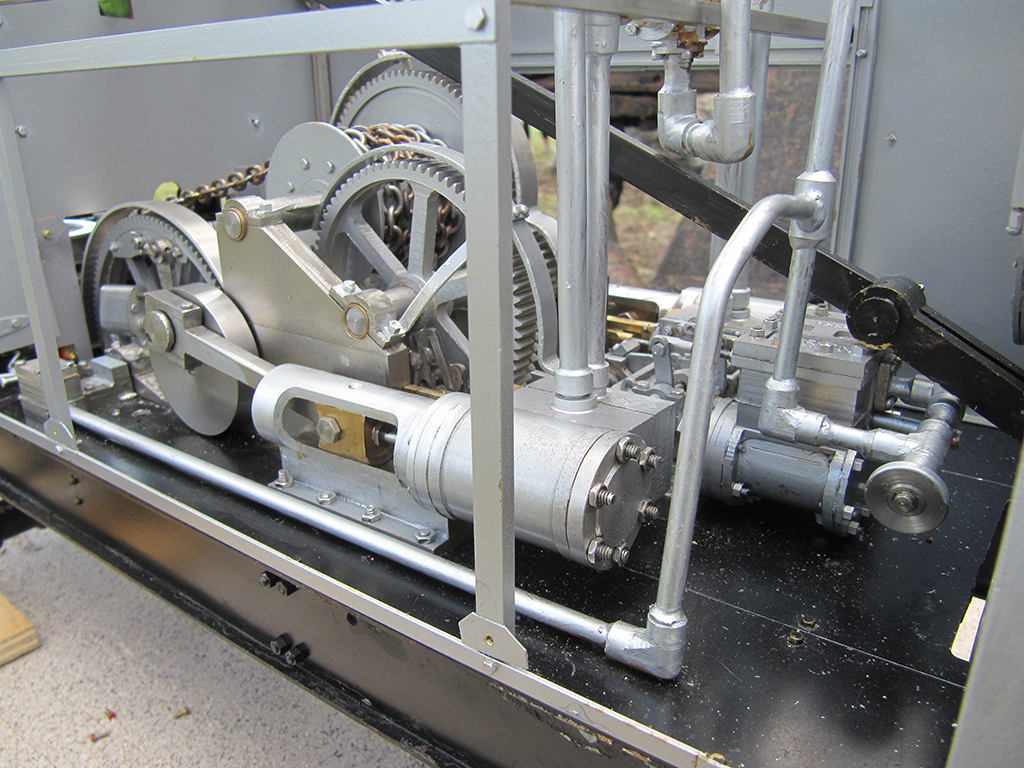
This turned into my biggest project yet, spanning over two years to build it. It was made from stainless steel and brass bar stock, with bronze bearings and a copper boiler. While the plans were done in a 3D computer package, all the work was done on a manual Sherline lathe and mill. I still prefer doing the hand work on all the parts, although there were many jigs and fixtures used to mass-produce parts like the plates for the crawler tracks. The finished model is about 4-1/2 feet long, and weighs just under 100 lbs. Even so, all four of the steam engines function, and all the controls are functional.
On both the Lombard and Marion projects, one source of information that many people don’t take advantage of are the old patent records. All of the US patent records are available online, both through the US Patent Office website, and also through a patent search engine that Google maintains. All of the patents are searchable, and contain a wealth of information on the machines—cross section drawings, diagrams, and descriptions of how they work.
Chris kneels behind his scale model Marion steam shovel, with the full-size shovel in the background.
On the Marion shovels, they invented a new style valve arrangement that combined forward/reverse control with throttle control—all without any of the external linkages of a typical steam engine. Without sources of information like the patent record, even having access to the real machine would not have helped (unless they would allow you to dismantle it, which is very unlikely).
Also, the old catalogs that the companies put out to help sell the machines can have a wealth of information on how they worked and their features, just like modern product catalogs.
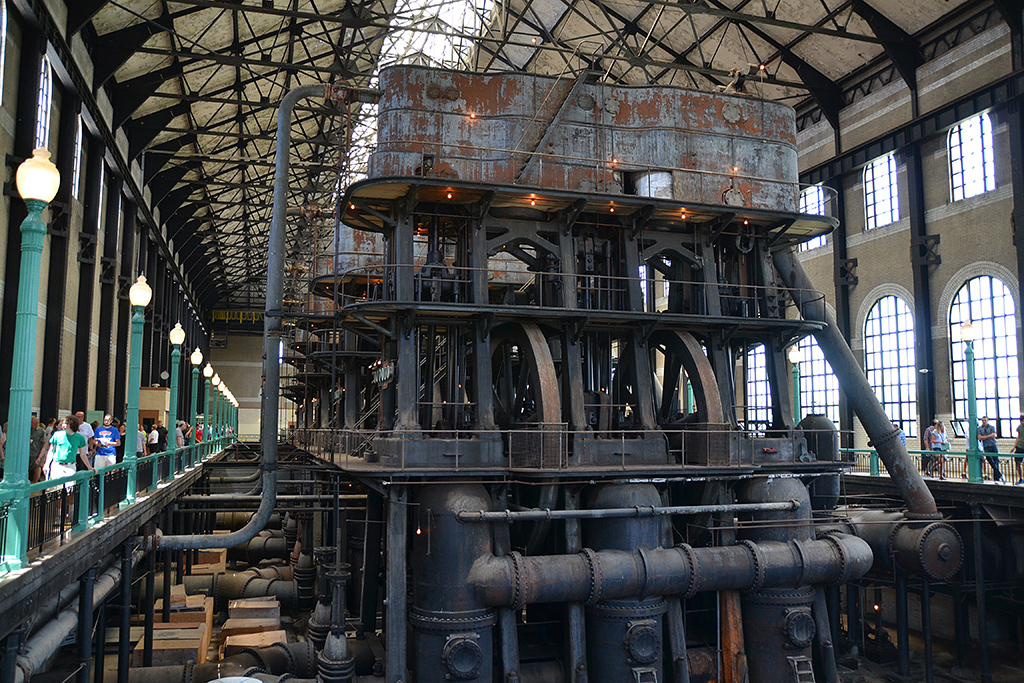
So, that brings this journey back up to the present. What’s next? Hard to say where the muse will lead, though a couple of possibilities are a scale model of a Stanley Steamer automobile engine, or possibly a model of the huge triple expansion steam pumping engines at the Ward Pumping Station in Buffalo, NY. It supplied drinking water from Lake Erie to the city for decades. I was able to get a copy of the original builder’s blueprints for the station, and am in the process of making a 3D CAD model of the engine and pumps.
—Chris Rueby (November, 2019)
An Update From Chris Rueby (May, 2021)
In May of 2021, Chris Rueby sent an update on some of his latest work. Chris finished a few more steam engine projects, a scale model Mann Steam Wagon, and also began building his model of the pumping station engine pictured above.
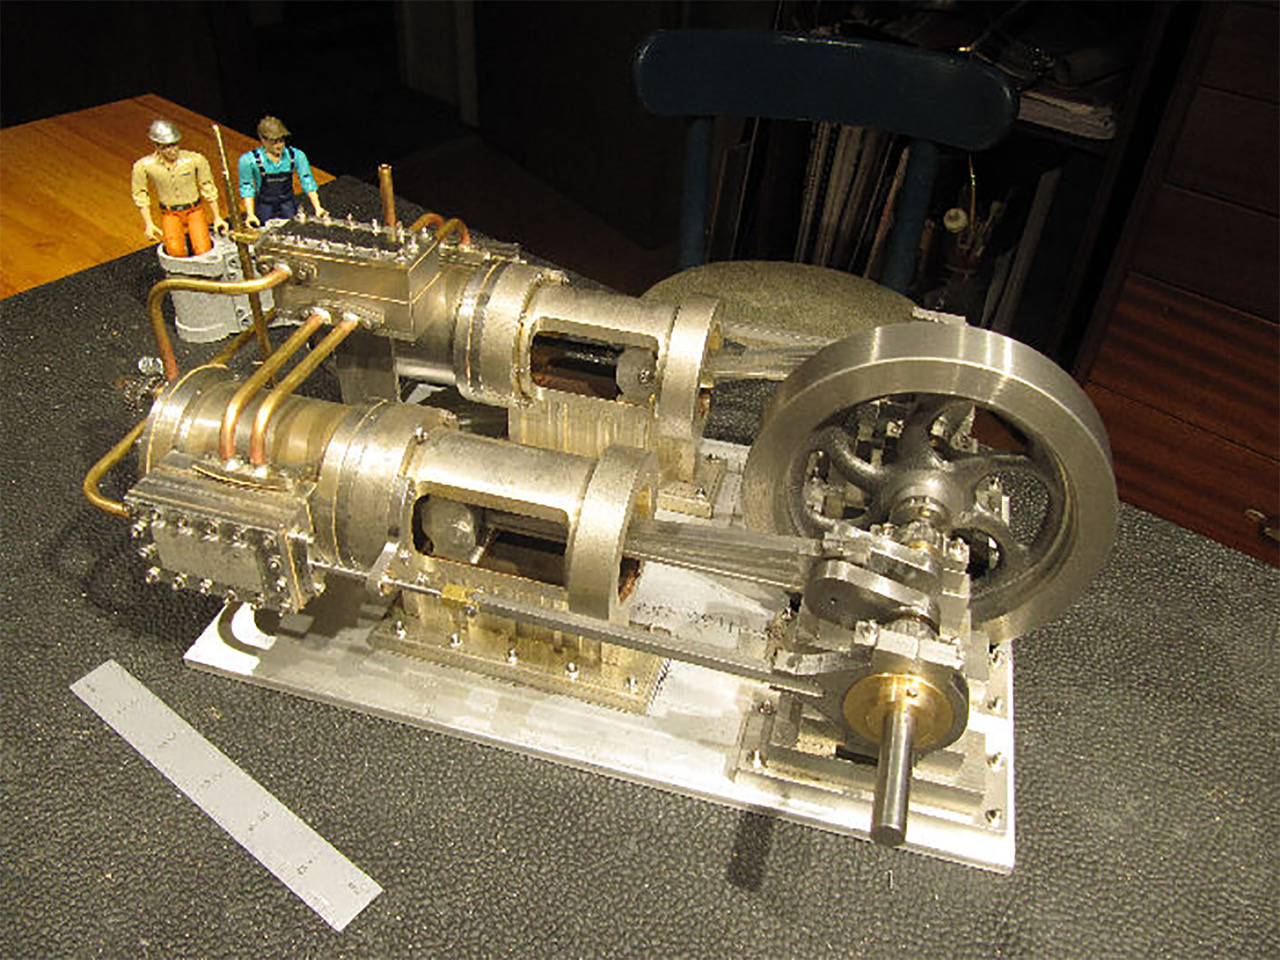
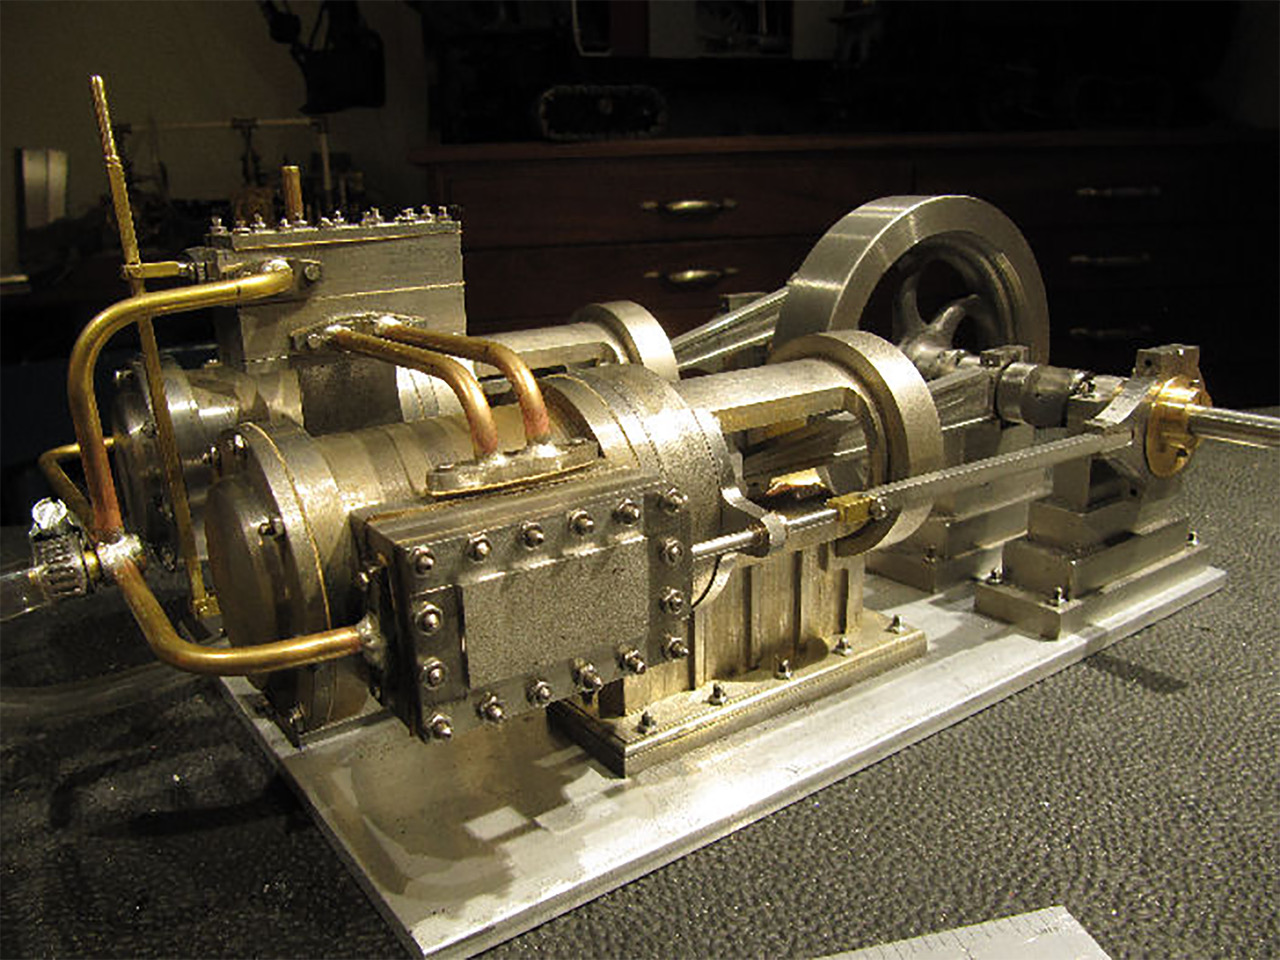
Chris wrote of one of his newly finished projects, “There is a mill-style engine that uses the same combination throttle/direction valve that the Marion steam shovels used, which eliminates the need for an external mechanical reversing linkage. It uses a two-layer D valve with four steam ports, rather than the usual three ports, and internally reverses the flow of steam and exhaust in the throttle valve. This all allows for a single lever to control both the speed and direction of a steam engine.”
Two angles of the Marion-valved mill engine built by Chris.
Chris also made a video of the Marion-valved engine running, which can be viewed below. He noted that it self-starts in both directions, and the throttle function works well. Needless to say, Chris was pleased with how it turned out.
With regard to his other engine, Chris said, “The second one, just finished, is a 1/4 scale version of a Stanley Model 735 Steam Car engine, built using plans from the Stanley Museum up in Maine. This is their prototype piston-valved engine, which Stanley built just a handful of.”
Chris also posted a video of the finished Stanley 735 engine (shown below). He has been keeping busy! Along with the engines, Chris noted, “I did finish the Mann Steam Wagon this winter, and have started in on the Holly pumping engine from the Ward Pumping Station.”
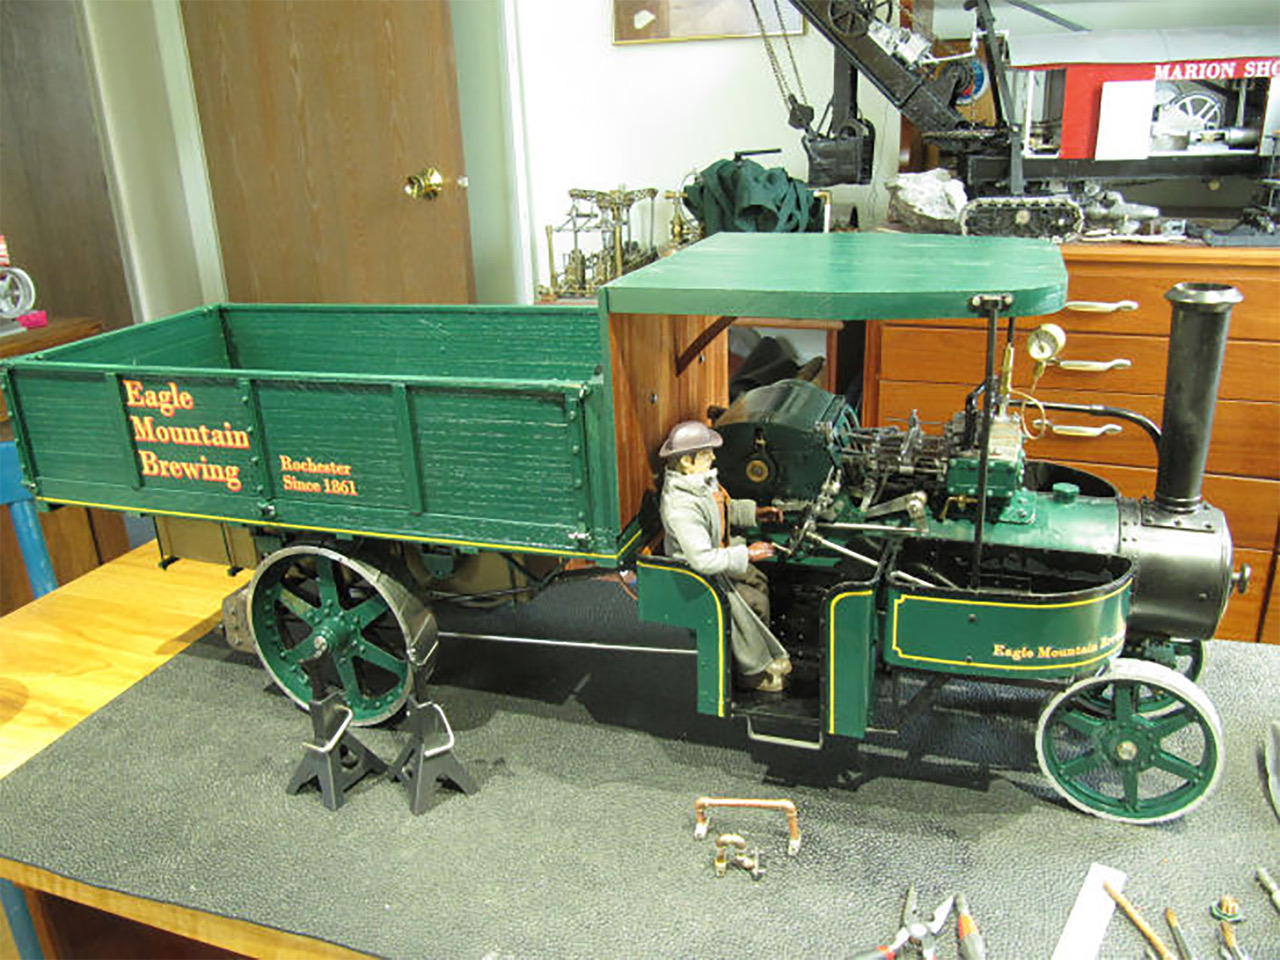
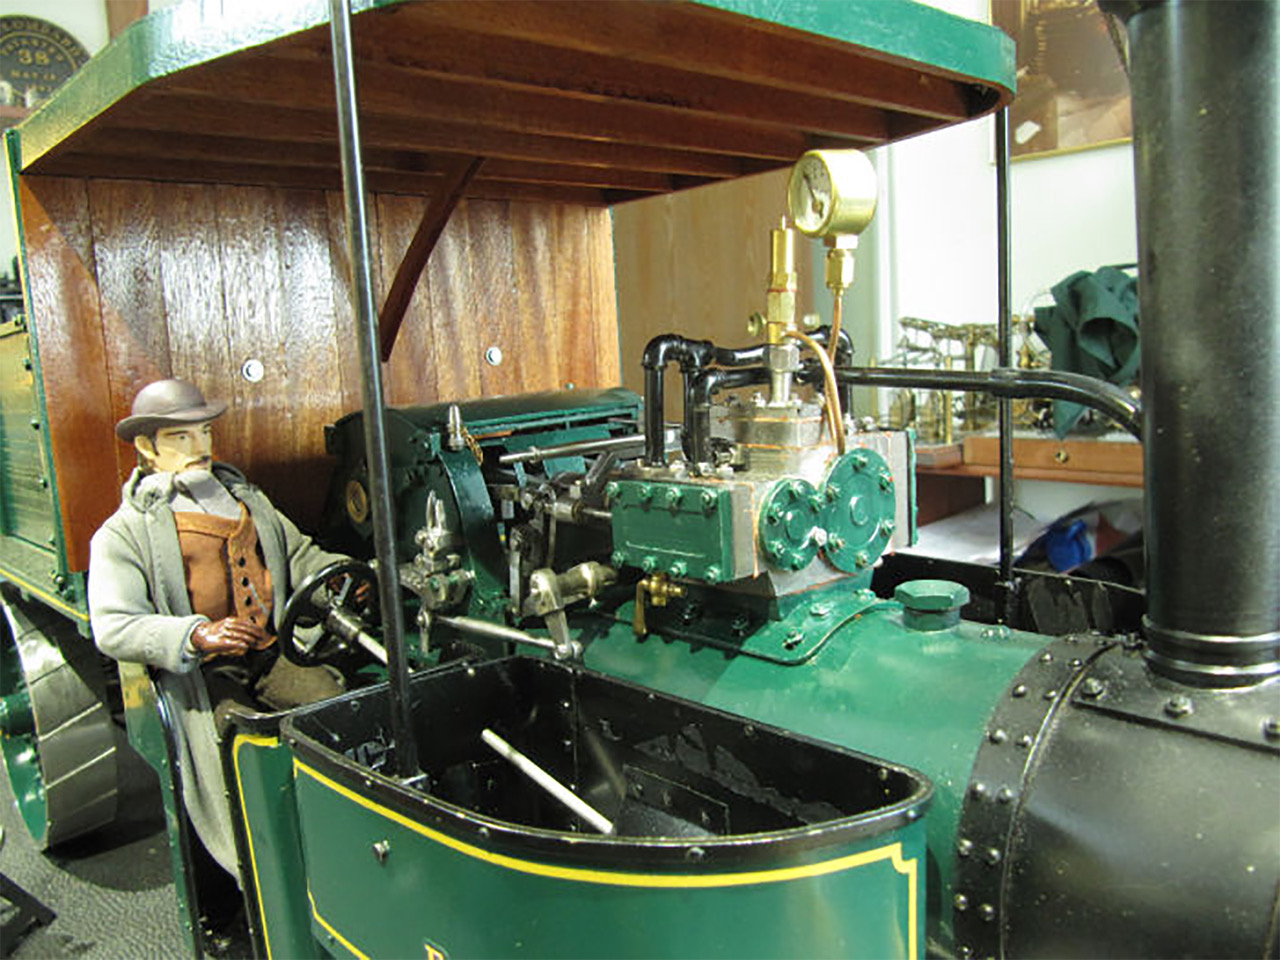
An overall view of the scale model Mann Steam Wagon. The butane-fired boiler and the engine are up front. The final shaft on the transmission leads to a chain drive back to the differential on the rear axle. The sides of the bed fold down.
Chris’ Mann Steam Wagon model is based on a surviving Mann truck in a museum outside Vancouver. The model has a working boiler and two-cylinder compound engine, driving a 3-speed transmission with a chain drive to the differential on the rear axle.
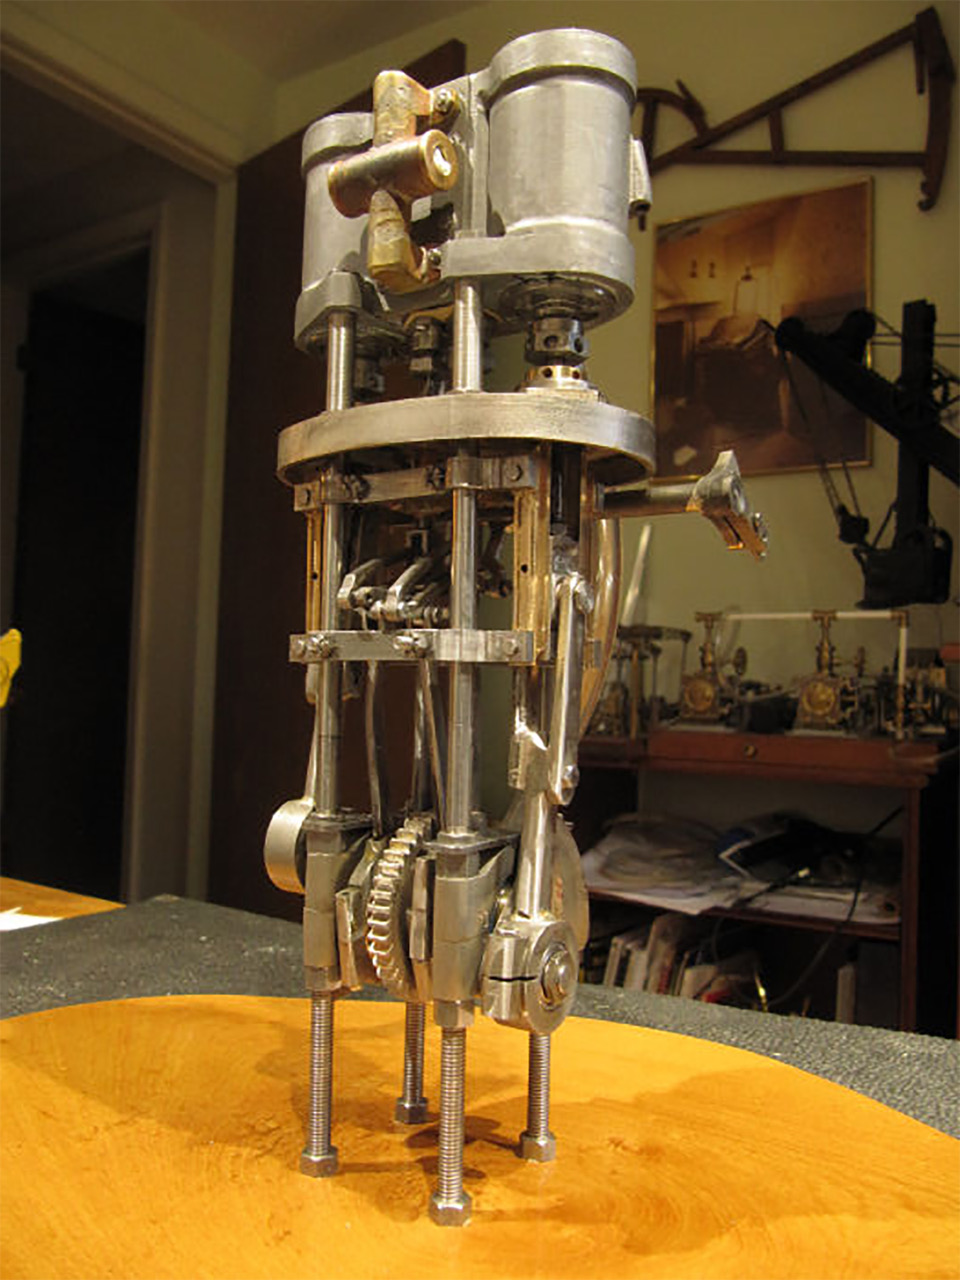
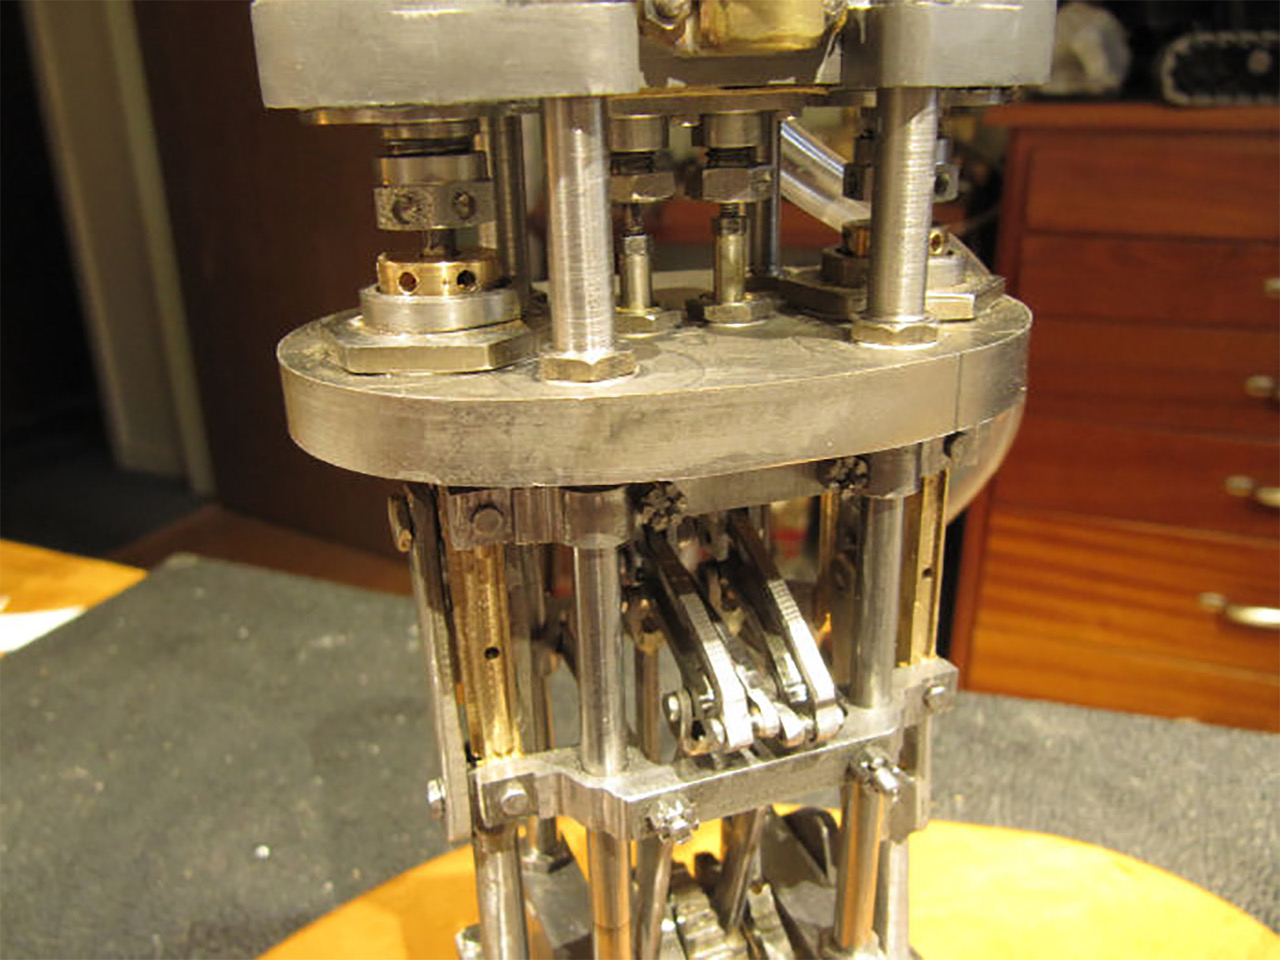
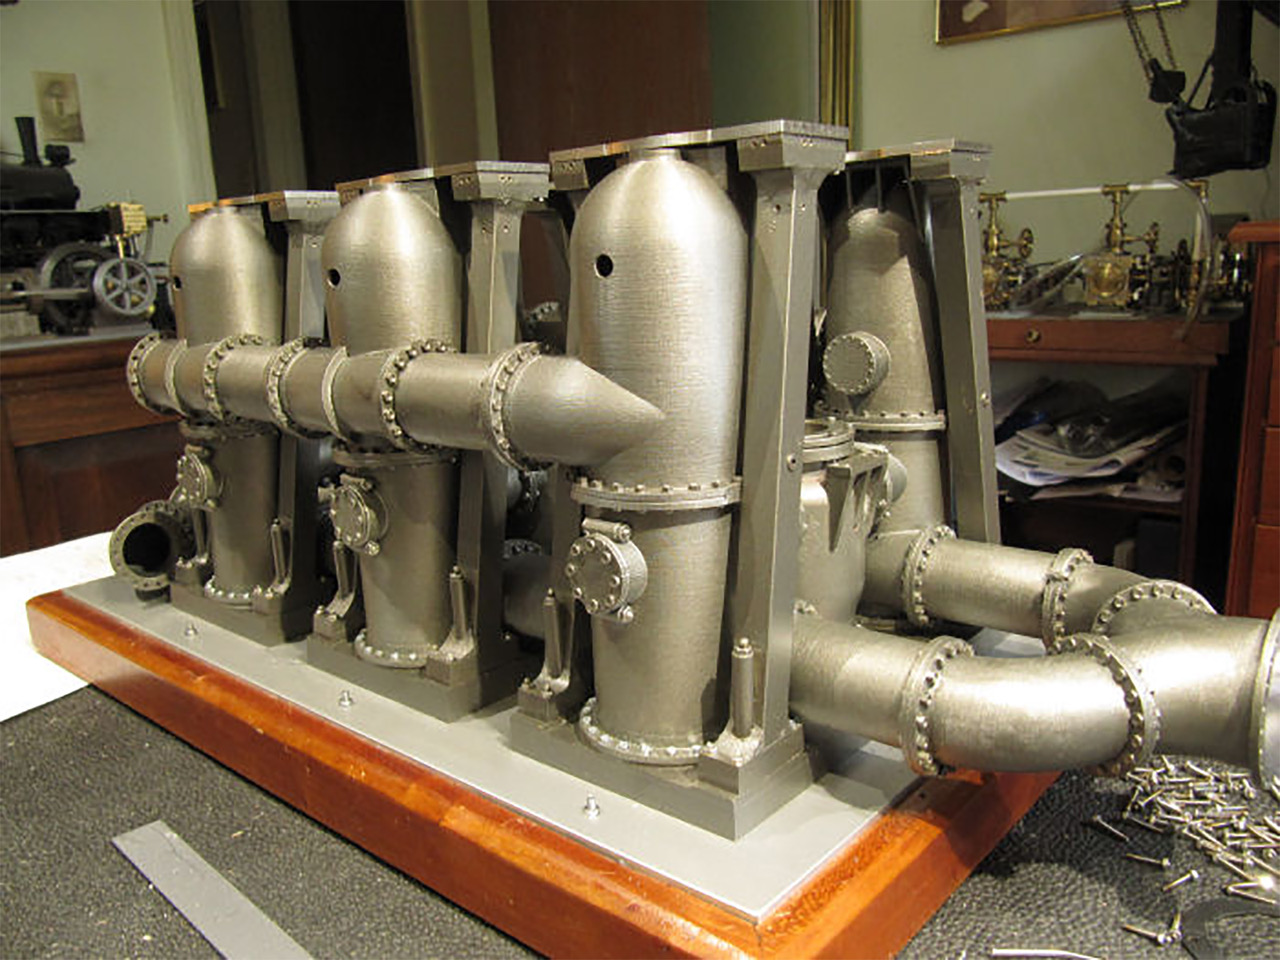
On the Holly pumping engine, Chris has built most of the lowest level, with three pumps and the check valve chambers/piping. He noted that it would be functional as a water pump once completed. Above the upright frames that are pictured below will be the engine beds and crankshaft. Then, Chris will add more frames going up from there to the three compound cylinders.
An Update From Chris Rueby (January, 2022)
In January, 2022 Chris Rueby sent us another update on his work. He finished his 1:32 scale Holly water pumping engine, based on the engines at the Ward Pump Station in Buffalo, NY. Chris’ model is a working triple compound steam engine with functional water pumps.
Chris noted that he built his model following the original builder’s blueprints found in the Ward station. He made the entire model on a manual Sherline lathe and mill. The model is mostly brass, with stainless steel and bronze moving parts.
Mr. Rueby wrote an article detailing the construction of his Holly Pumping Engine which was published in the Nov/Dec 2023 issue of Live Steam magazine. The article features over 30 photos of the build process and finished model. In order to truly appreciate the impressive scale model pumping engine, watch a video below of the remarkable machine in action.
View more photos of Chris Rueby’s remarkable craftsmanship.

